How to Configure the DocuSign Integration
Getting Started
DocuSign Setup:
- Log in to the DocuSign Developer account (https://developers.docusign.com).
- Click on the Settings tab.
- While on the admin dashboard, click on Apps and Keys under the Integrations heading on the left menu.
- Copy/store the Account Base URI (needed in a later step), under the My Account Information heading.

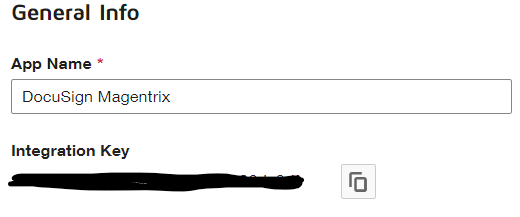
- Under Apps and Keys, click on the button Add App and Integration Key, give the app a name, and click Create App.
- Under General Info, copy/store the Integration Key (needed in a later step).
- Under Authentication, click Add Secret Key. Once generated, copy/store the Secret Key (need in a later step).

- Under Additional Settings, click Add Uri. The link will be the site URL + /docusignagreement/consent
- Example Uri: /docusignagreement/consent
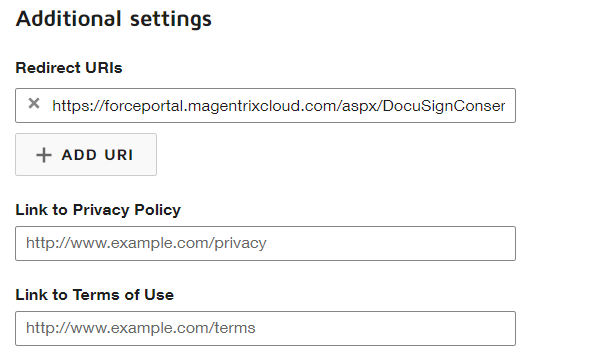
- Click Save
Magentrix Setup:
- Under the Magentrix Setup menu, click Extend, and then Connected Apps
- Click New, select API Provider, then click Next, select OAuth, and then click Next.
- Step 1: Select API Provider.
- Step 2: Select OAuth.
- Step 3:
- Name: DocuSign
- Service URL: Account Base URI (retrieved from DocuSign Setup)
- Consumer Key: Integration Key (retrieved from DocuSign Setup)
- Consumer Secret: Secret Key (retrieved from DocuSign Setup)
- Click Save.
Next Steps:
- You must have a DocuSign license. Once the license is available, the Extend > DocuSign menu will appear.
- Navigate to DocuSign Settings.
- Select the Connected App created above in the dropdown.
- You will be redirected to the Consent page (/docusignagreement/consent).
- Click on the Give Consent button where you will be redirected to DocuSign to login/authorize Magentrix.
Branding Setup
Branding DocuSign Setup
- Login to your DocuSign Developer account.
- Click Brands under the Account heading on the left menu.
- Click the Add Brand button on the top right.

- Add a Brand Name and click Save.

- Configure Brand Settings, once complete, click Save.

Template Setup
Template Magentrix Setup
- Under the Magentrix Setup menu, click Extend, and then DocuSign.
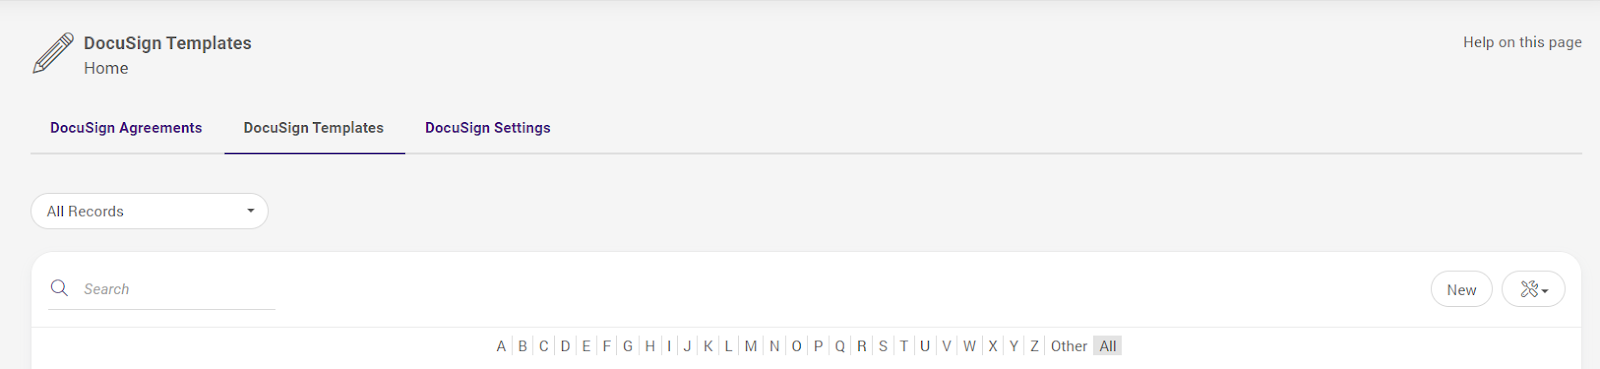
- Navigate to the DocuSign Templates tab and then click New.
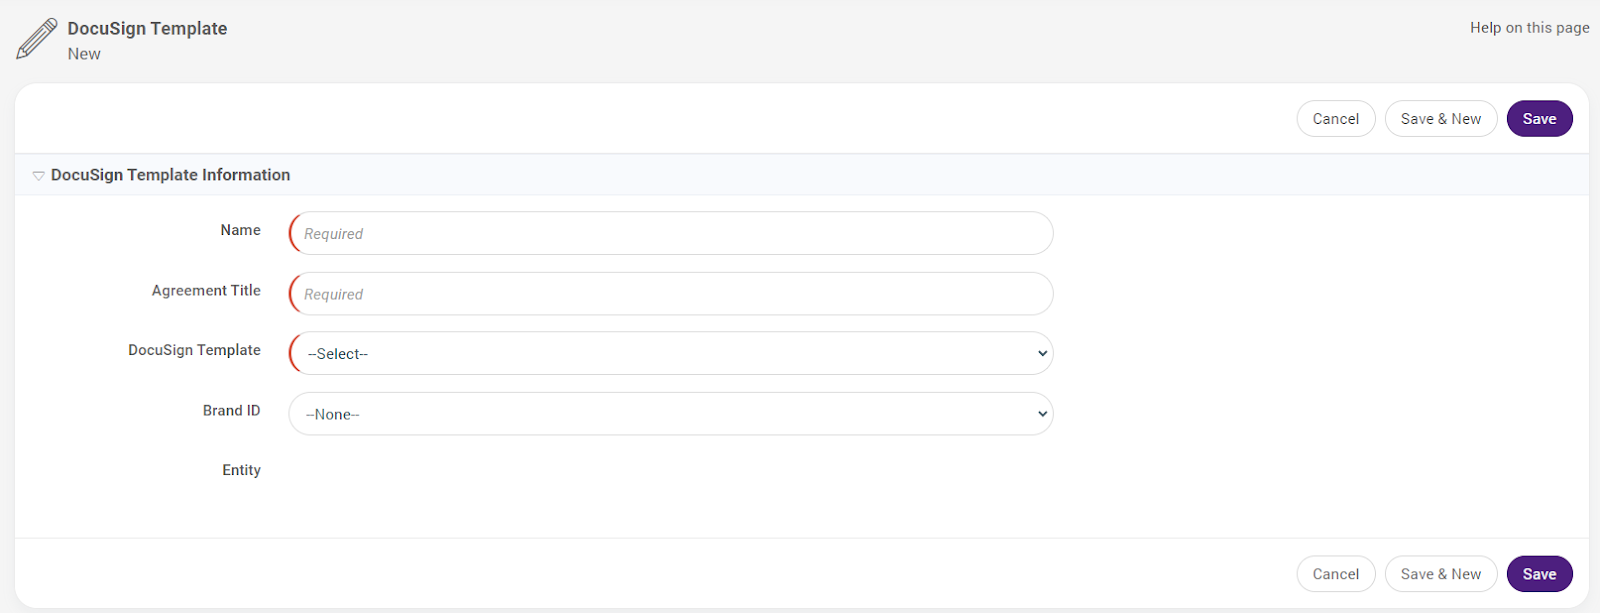
- Fill out the required fields including Name, Agreement Title, and DocuSign Template picklist (these values will be templates from DocuSign Account).
- Give a Brand ID if applicable (follow Branding Setup steps).
DocuSign Sandbox to Production
DocuSign Go Live
- Login to DocuSign Developer account.
- Click on the Settings tab in the above menu.
- While on the admin dashboard, click Apps and Keys under the Integrations heading on the left menu.
- Under Apps and Keys, review the Go Live Status of the app. If the Go Live Status is ready for review, promote the App to Production.

- Follow the steps from DocuSign to promote the app to Production.
DocuSign After Go Live
- Update your integration to use the production environment endpoints
- Add redirect URIs and secrets as required by your configuration.
- Follow the DocuSign Setup instructions above
- Under the Magentrix Setup menu, click Extend and then Connected Apps.
- Select the DocuSign Connected App, and click Edit.
- Update the Service URL to use the new Account Base URI, instead of https://demo.docusign.net
- Consumer Key: Integration Key (retrieved from DocuSign Setup).
- Consumer Secret: Secret Key (retrieved from DocuSign Setup).
- Follow the Next Steps instructions below.
How helpful do you find this article?
0.0 (0)