This document will guide you through the process of creating an Automation and Email Template to notify a user when they register for an event.
Once this Automation is created, a user registered to an Event will receive a notification via email.
More information related to the Upcoming Events modules can be found in the documentation below:
Upcoming Events Checklist
1. Creating the Email Template
On the Portal Setup, navigate to:
Create > Email Templates > New
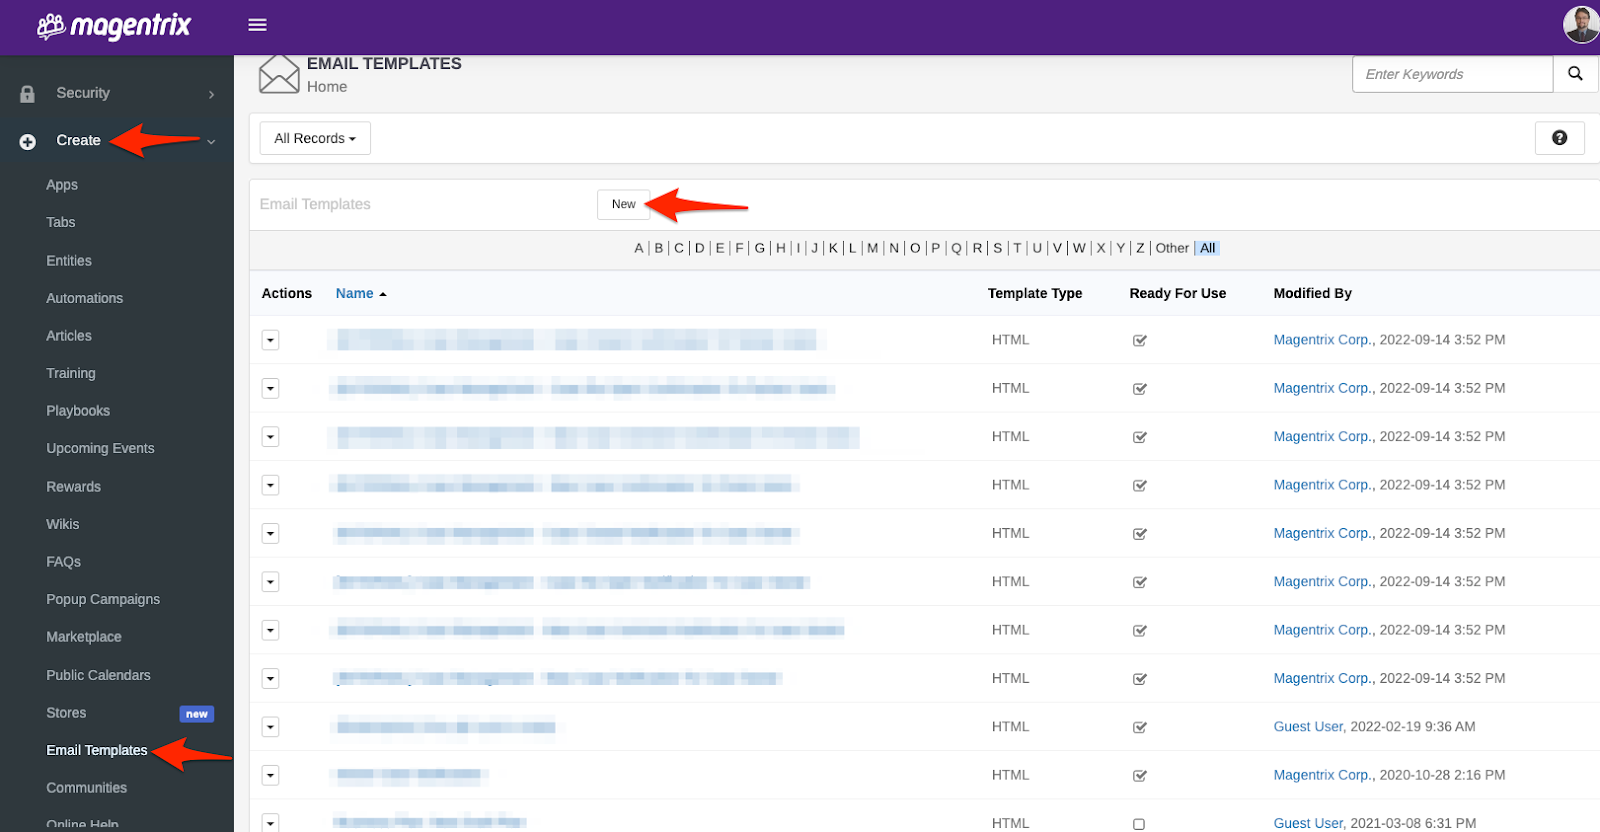
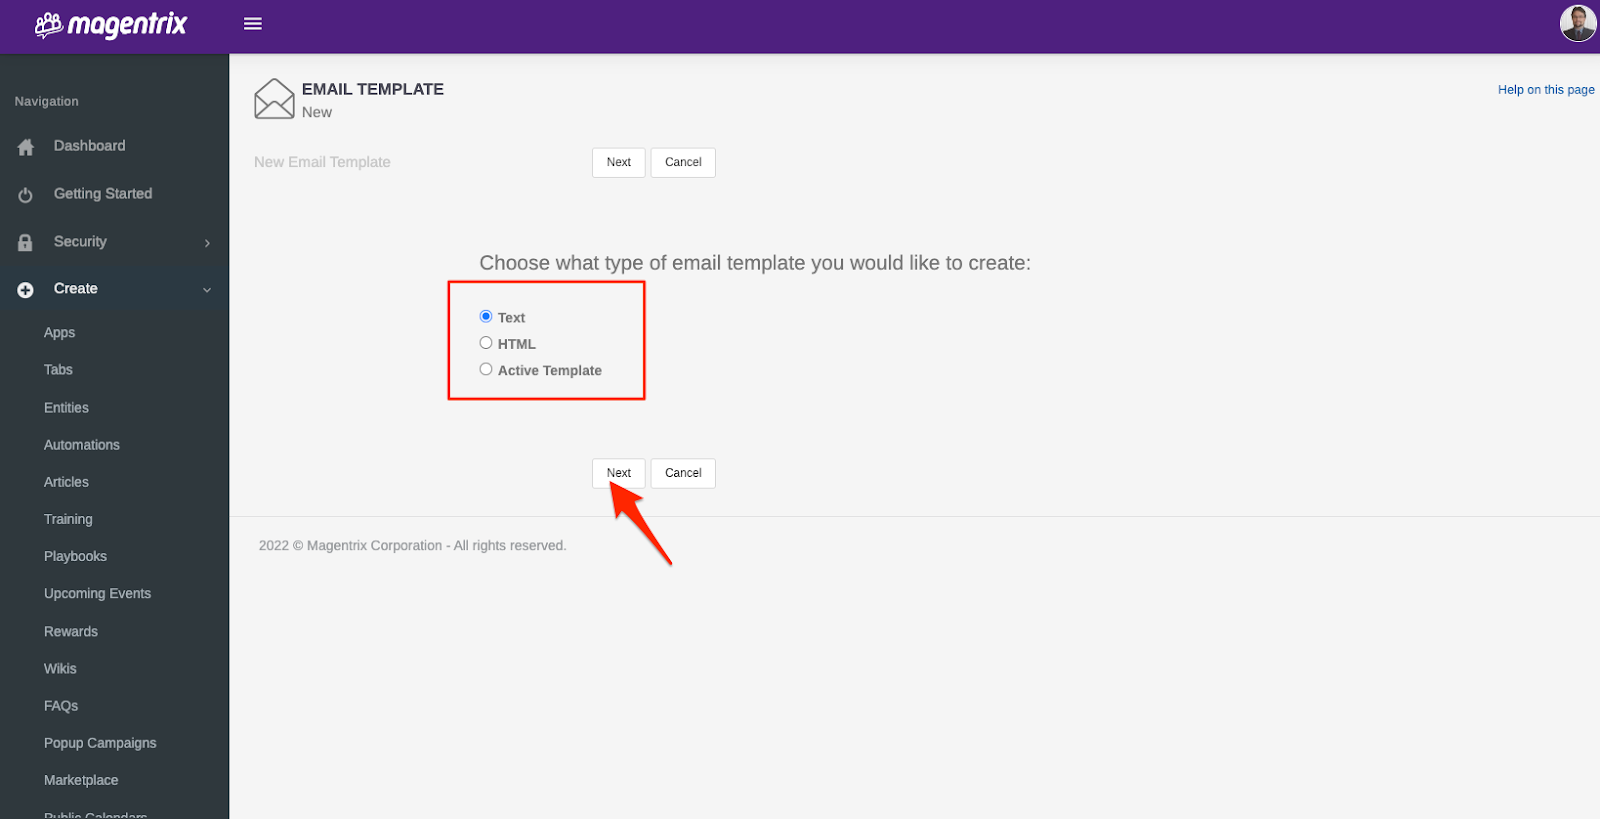
Select the type of Email template, and click Next
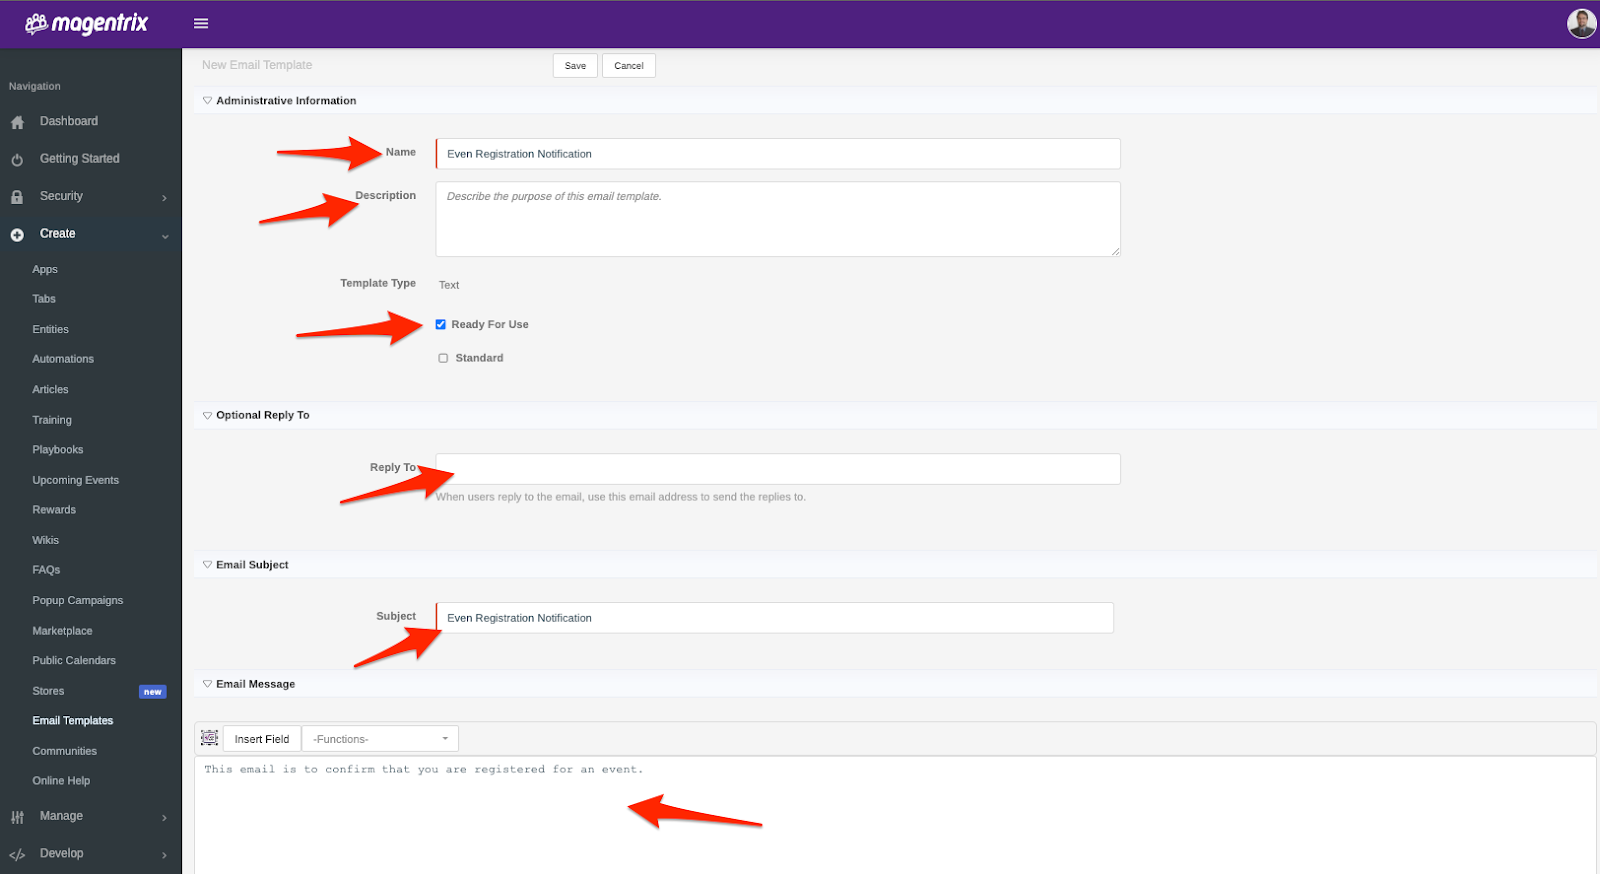
Fill up the information on the Email template form:
Name: Create a name to identify the Email Template
Description (Optional field): Add here a description of the Email Template
Optional Reply To (Optional field): Add the Reply-To email address
Subject: Add to this field the Subject that will be shown on the emails sent to the users
Email Message: Add the text that will be shown on the emails sent to the users
Click on Save.
More information related to Email Templates can be found in the documentation below:
Email Templates
2. Creating the Automation
On the Portal Setup, navigate to:
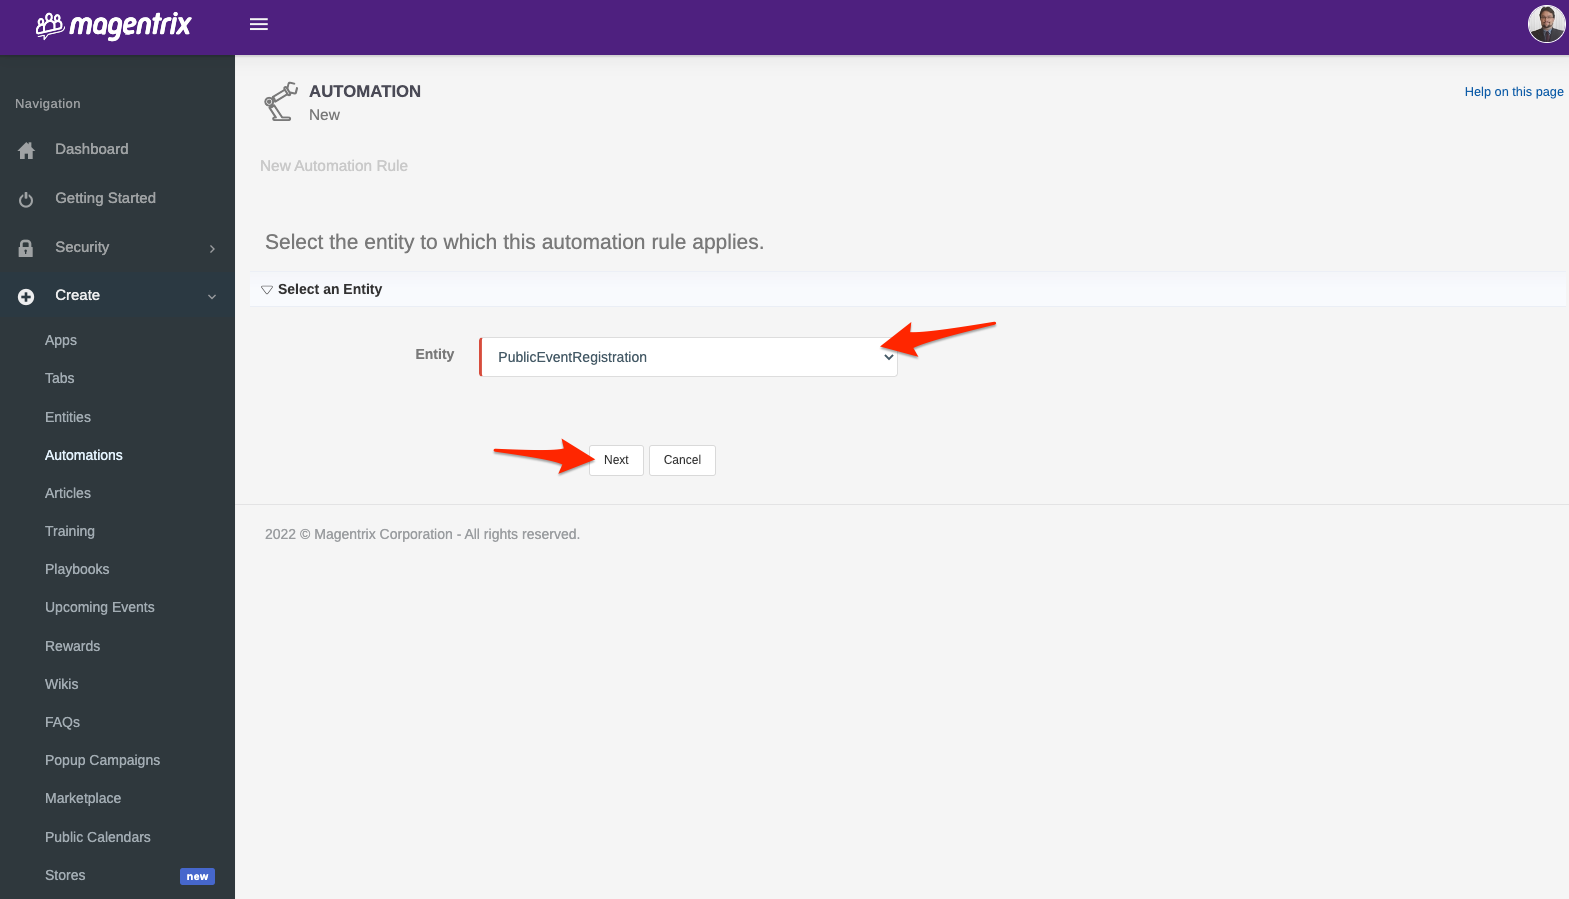
Create > Automations > New
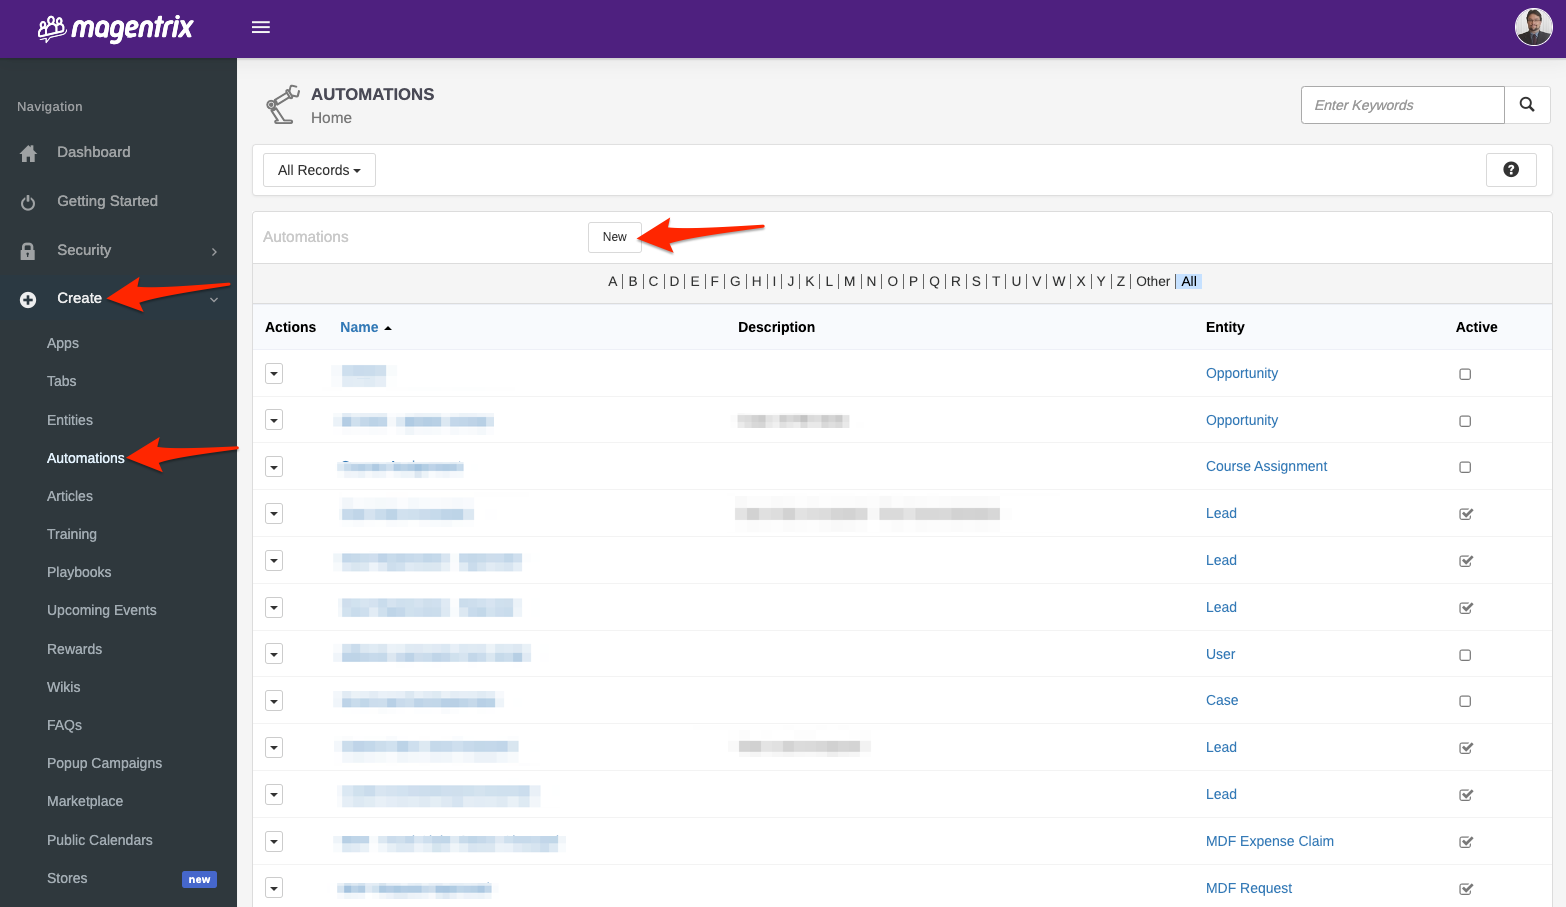
On the “Entity” picklist, select “PublicEventRegistration”. Click Next:
Fill in all required information
Name: Create a name to identify the Automation
Active: Check the “Enable” checkbox if you wish to make the Automation functional right away
Description (Optional field): Add here a description of the Automation's purpose
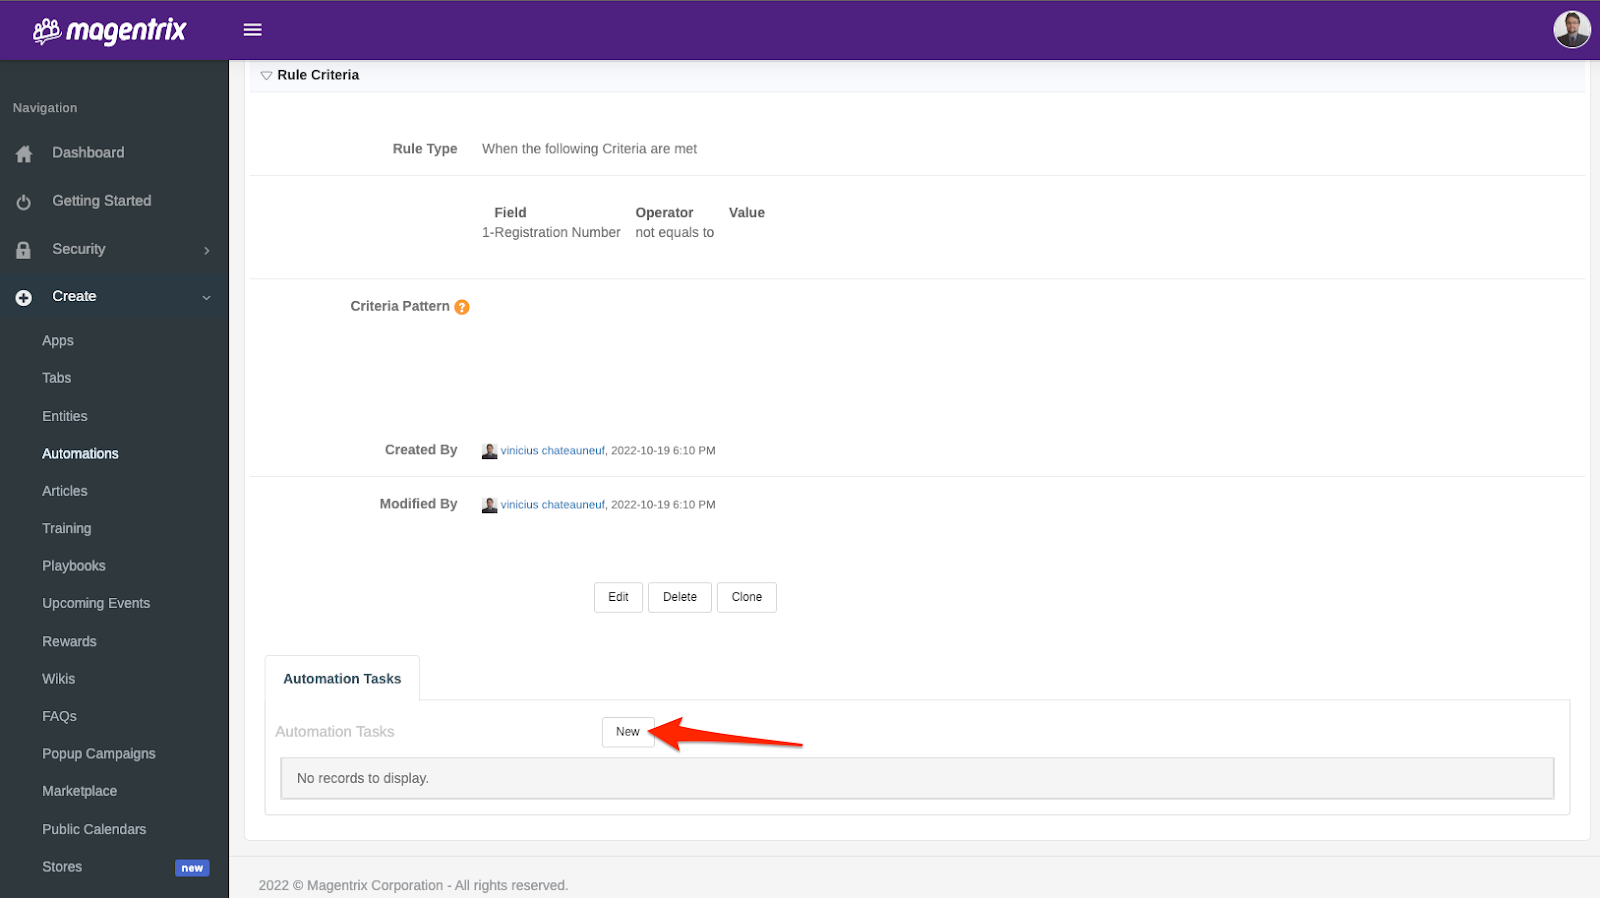
Evaluation Criteria: Select “Created”
Criteria: Select the Field “Registration Number” Operator “not equals to” and keep Value empty
Click on Save.

On the “Automation Tasks” section, click on New
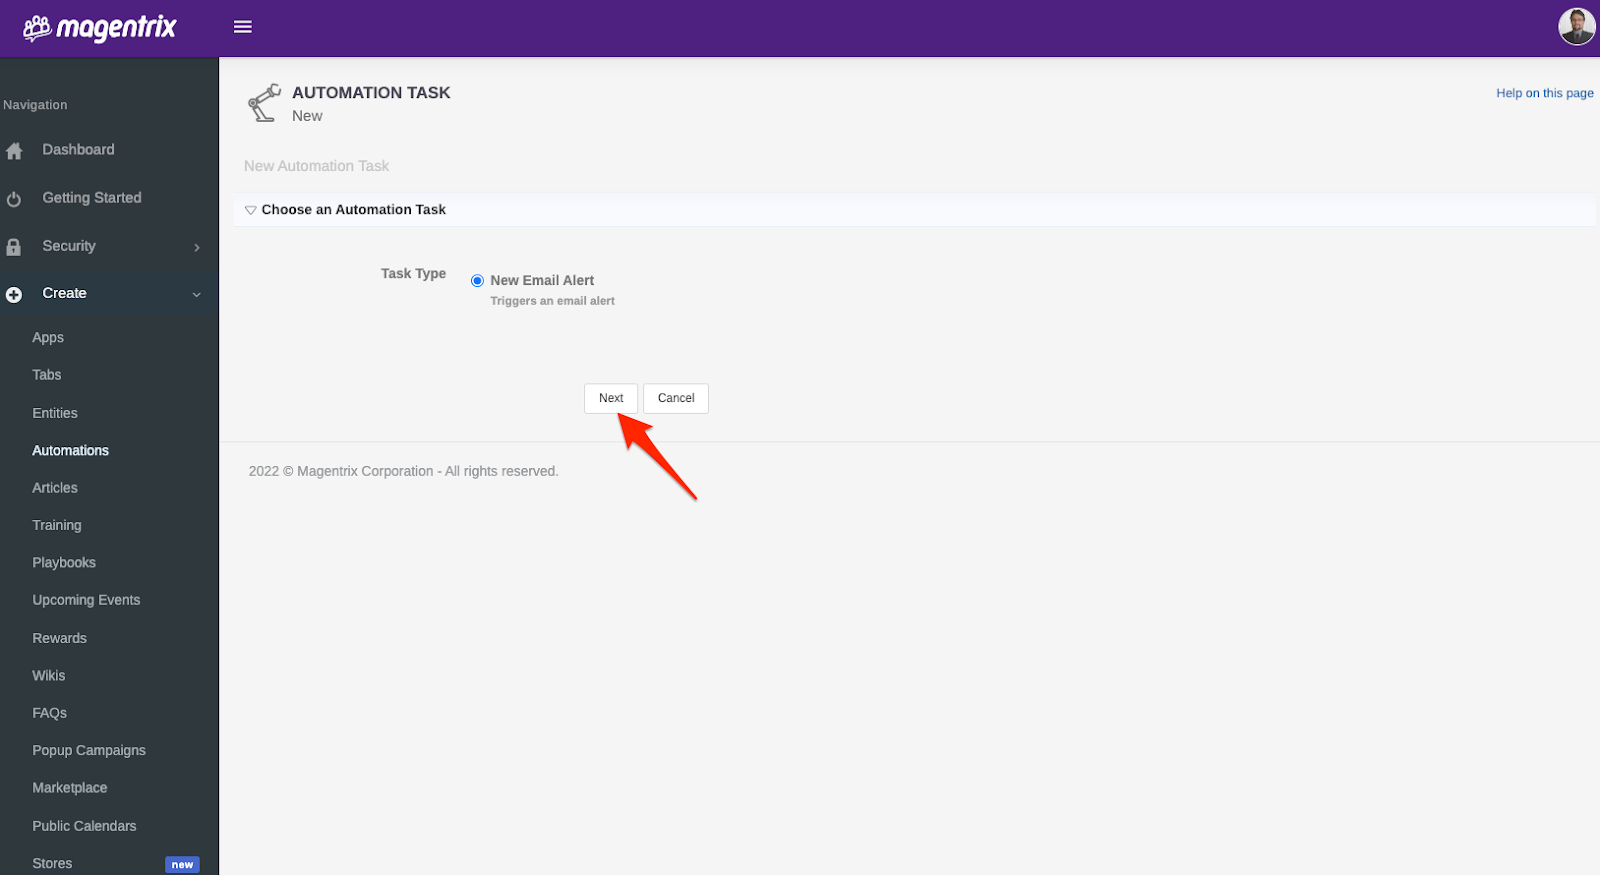
Click on Next
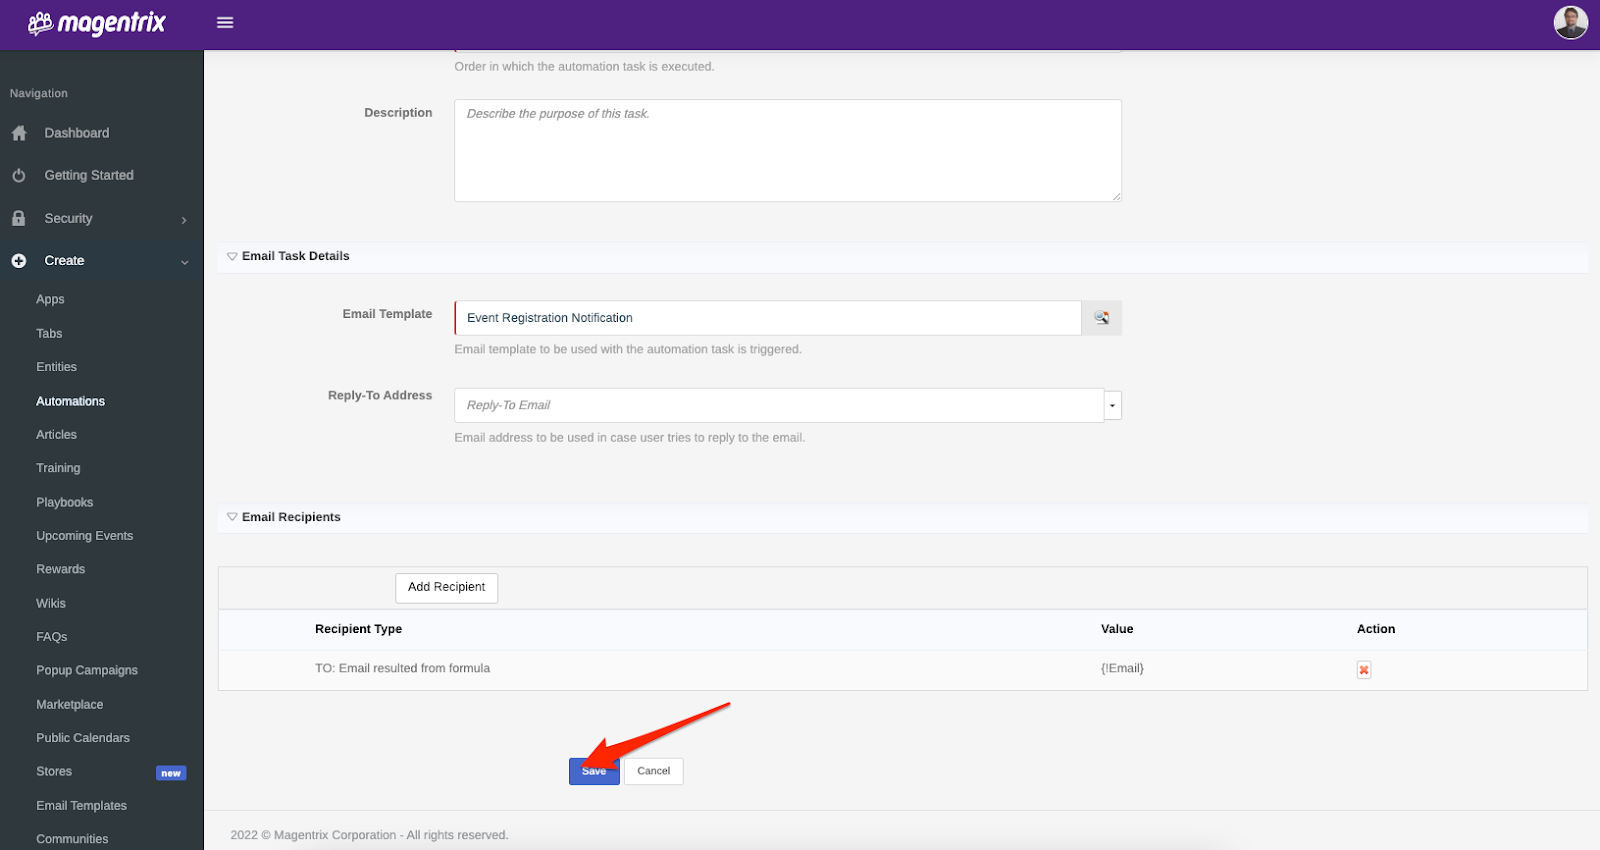
Fill in the information on the New Email Automation Task form:
Name: Create a name to identify the Tasks
Sequence: Order in which the automation task is executed
Description (Optional field): Add here a description of the Task's purpose
Email Template: Select here the Email Template previously created
Reply To Address (Optional field): Add the Reply-To email address
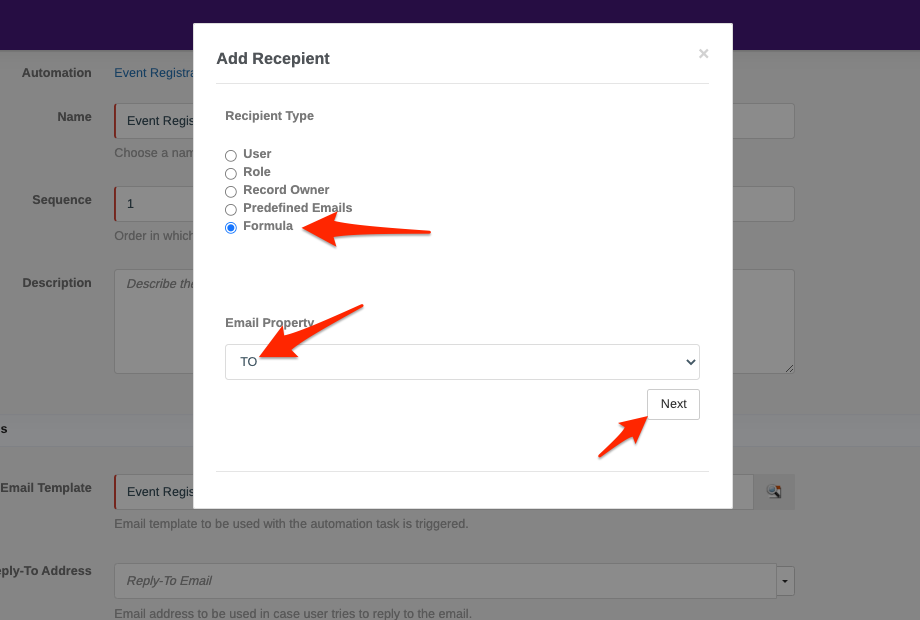
Click on Add Recipient

On Recipient Type select “Formula”
On Email Property select “TO”
Click Next
On the Add Recipient window, add {!Email}
This will capture the email for the user that registered to the Event
Click Add

Click Save
Your Automation is ready to use.